The Upside down : Inversion
24/08/2020 # Home
The handstand can be one of the most undervalued movements within the CrossFit community or where the sport is concerned. Nevertheless, its application and regular performance for skill sets can produce better movement within any field of sport where athleticism is involved.
To the novice or within our community, the handstand is sometimes seen merely as a basic tool within gymnastics sport—or a cool party trick. Its benefits, for example, include but are not limited to balance, strength, spatial perception/awareness, core-control development, isometric strength development, and so on. And these are but a few fringe benefits from basic skill sets before adding walking drills or ranges of motion with disadvantaged leverage to a handstand.
A large-volume book could be written on handstands and how this basic gymnastics tool can change your daily fitness goals and improve so much of your game. In this series, we will be offering several things to consider as you work at multiple levels to accomplish inverted goals. We’ll take this basic movement and delve into load core control via hollow-body bracing in the inverted, locked-out position.
Strength First
It’s important to define some traditions and see why body position is important in inverted, locked-out isometric holds—or handstands.
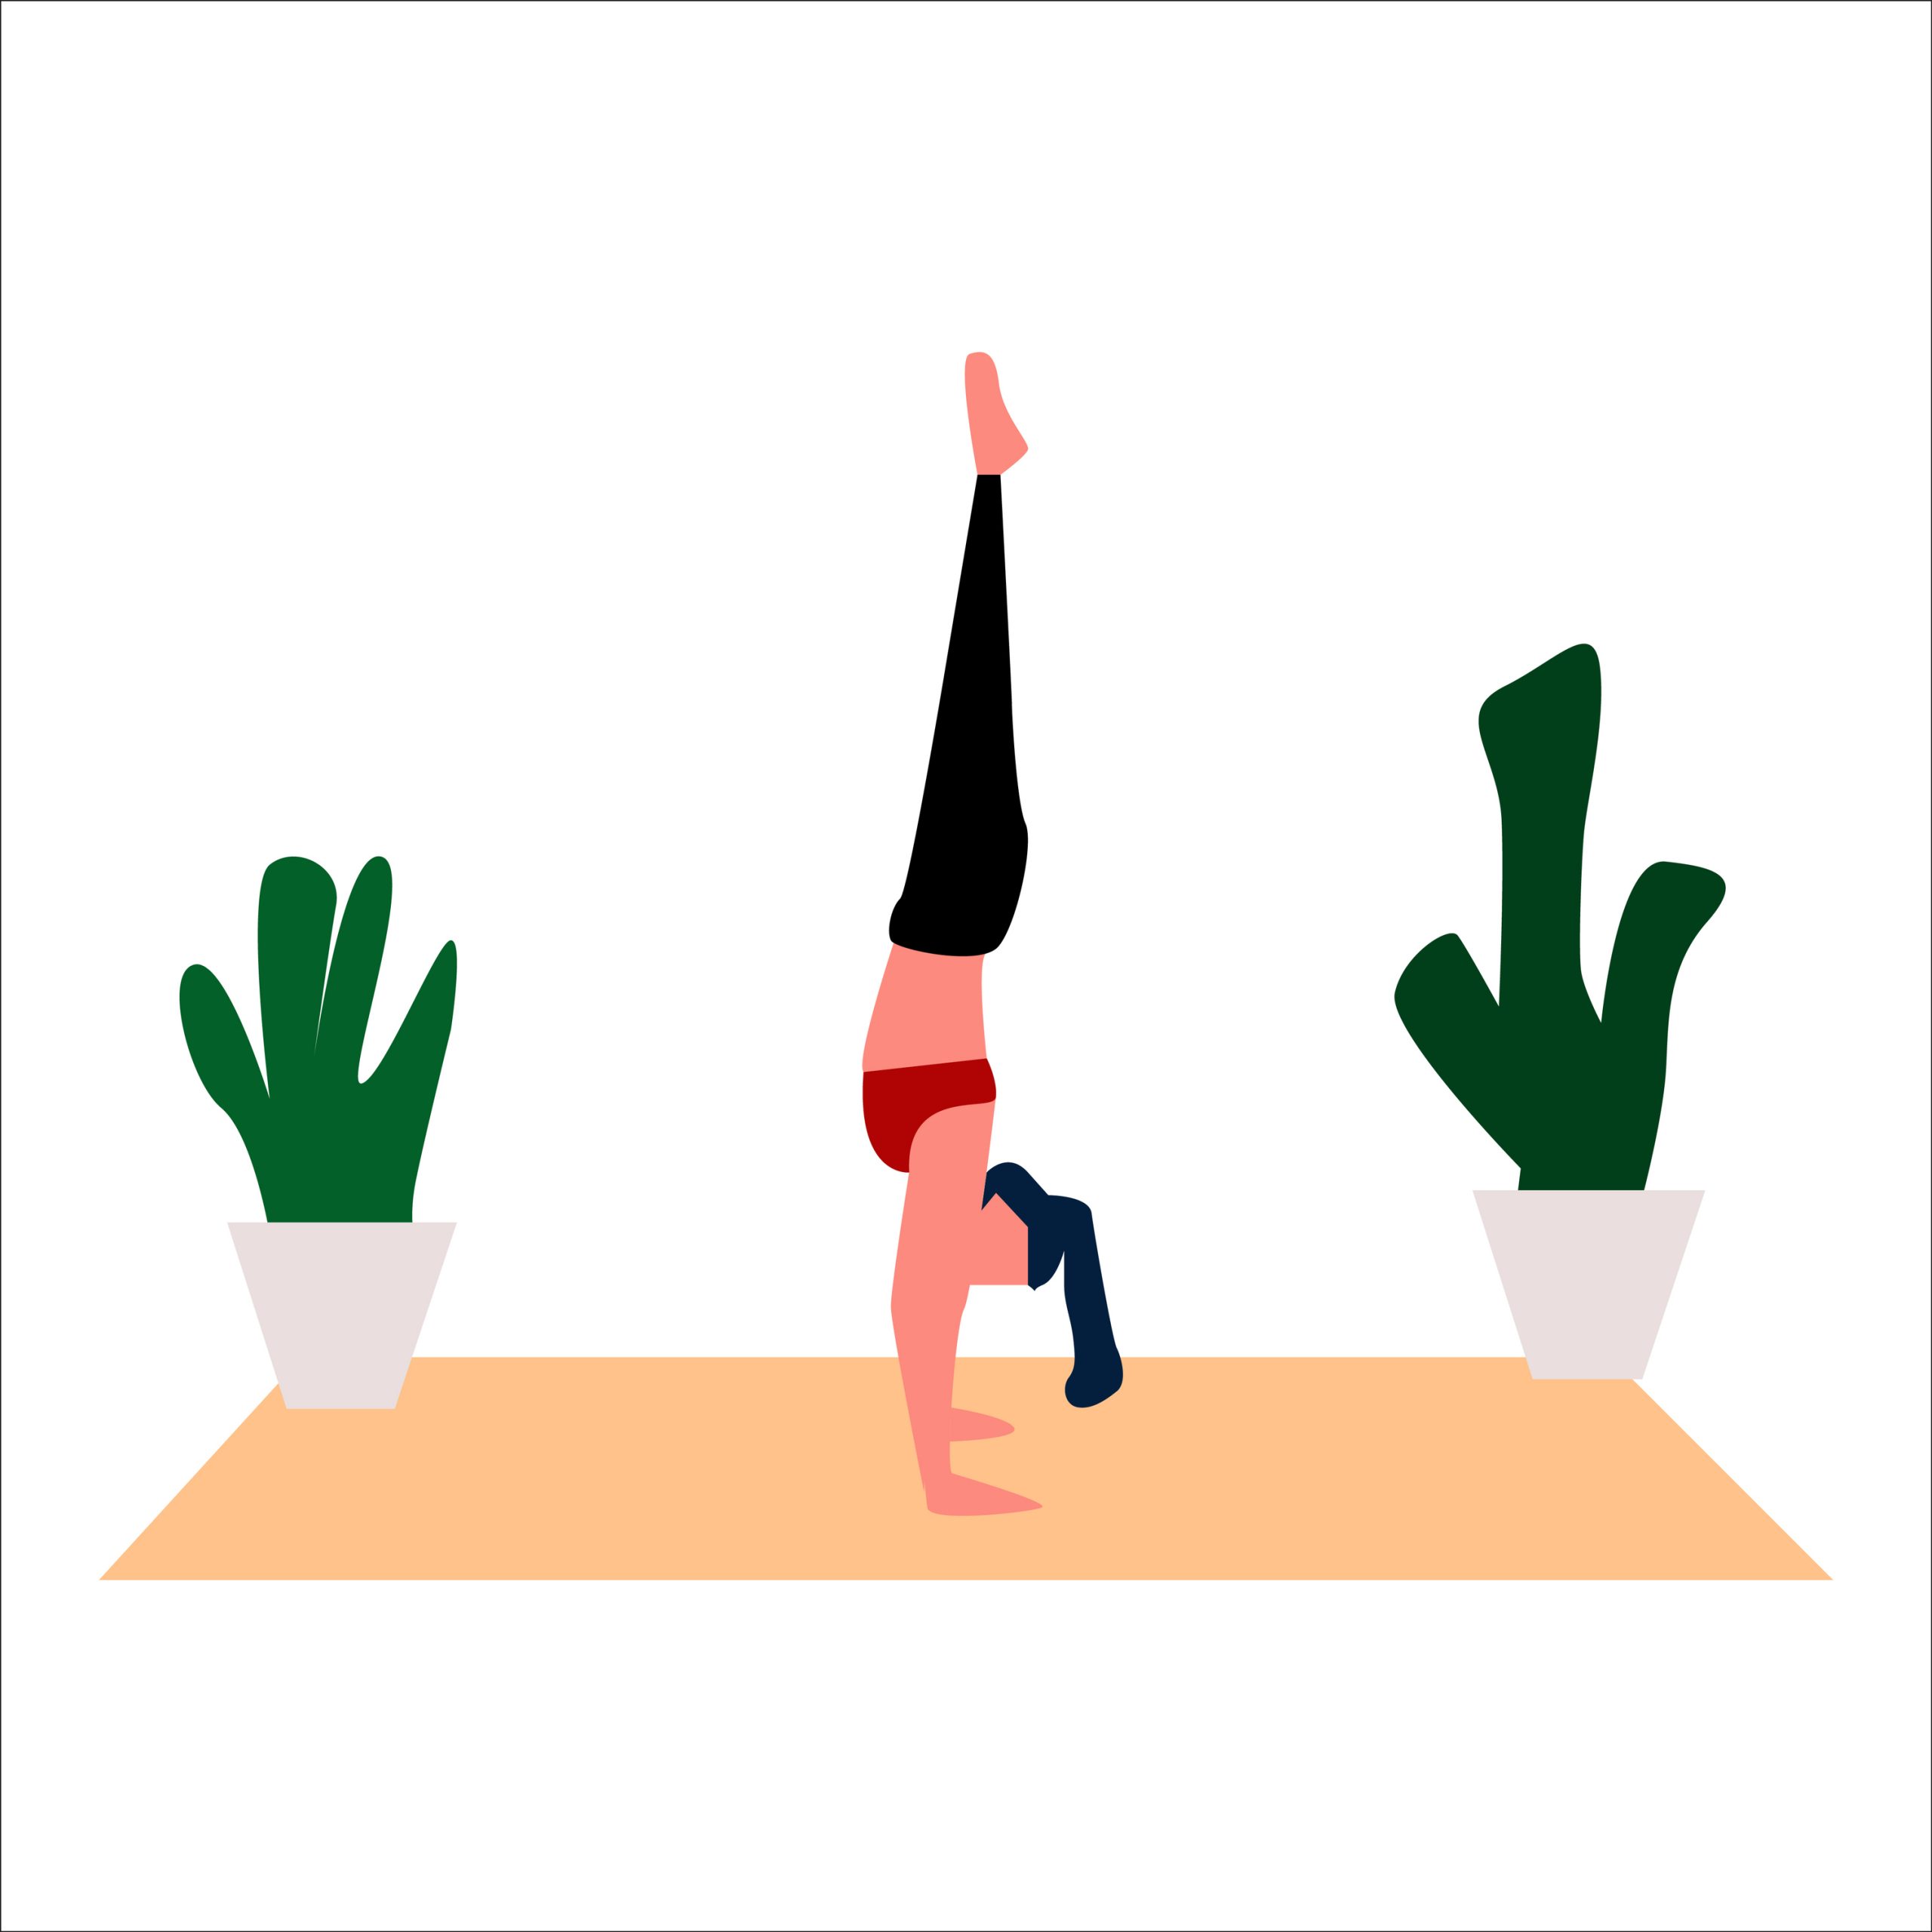
An old-school handstand is a movement that now appears very outdated. Why? Well, it normally features a large arch to the back, a closed shoulder girdle (the shoulders are not fully open), and toes that are either located over or beyond the head when inverted.
What we would like to see today is an inverted lockout where, if you look down the side of the body profile, you will see toes and ankles over and in line with the knees, hips, shoulders, and hands. The modern handstand used today for an inverted position requires an understanding of the hollow bracing for this isometric hold.
The hollow is a stabilization of your mid-spine and is not done with enormous energy but rather a simple bracing of the core. This is done with a core contraction that brings the rib cage toward the hip, allowing for good, subtle balance and lock-down of a nice vertical line down the body profile.
Normally, you begin with a neutral head position until students learn how to control this core bracing, at which point you can allow them to look toward their hands or the floor for a better focal point. Changing the focal point normally allows for a better balance once the individual understands that the hollow is working and should be a large part of the movement.
The only caveat to this is that most newbies tend to let go of the hollow brace as they look up with their chin and toward the floor with their eyes. I tell people all the time they must recall that the chin is in some ways connected to the tailbone: the more you raise your chin without thinking of engaging your core while doing a handstand, the more arched your body will become and the less efficient your handstand will be. Remember that you can look with your eyes first toward the ground before ever moving your chin toward the ground when inverted.
One large issue is the basic strength requirement needed for a locked-out inverted hold. You must approach such static holds with body-weight control, so try to limit your beginner’s attempts to five-second static holds with rest until basic strength prowess is achieved—or scale accordingly. This is very important and cannot be overlooked or overstated: you need to know if there are issues with strength, mobility, or fear. All these things can become a factor and part of a recipe for injury.
Ascertain the numbers for the strict press, kettlebell swing, dead-hang pull-ups, bench press, etc. before getting someone inverted. Have them acquire some upper-body strength for added control in this inverted isometric hold. Then get them comfortable by scaling handstand inversion progressions to limit fear if that’s what is required.
We have a great deal of tools we can use for prerequisite strength needs. For your consideration below is a list you could use for strength development for inversion to handstand:
- Active hollow body hold for 20 seconds.
- 10 hollow-to-supermans and back.
- 10 solid burpees with vertical jump and clap.
- 10 seconds in scaled handstand inversion holds.
- 15 push-ups, active body tension, externally cued hands.
- 10-second form frog stand.
- 10 barbell overhead squats.
- 10 thrusters with negative returns to rack position.
- 10 push presses with solid negative returns.
Reference:
https://journal.crossfit.com/article/getting-inverted
We help you become the best version of yourself in terms of moving safely and efficiently. Every coaching process starts with assessing an athlete’s abilities and mindset. Our coaching philosophy includes balancing various elements of your life to put your goal first. As coaches, we do not judge our athlete’s potential, instead, we work with athletes to develop a positive mindset and a belief in self-achievement.
We deliver all of our products and services via phone 📲. All you need is a smartphone. You can experience PA Coaching by subscribing :